

Slack Bot Setup
Overview
Section titled “Overview”The Slack bot lets your team request and approve access directly from Slack. It supports slash commands, Block Kit interactive messages, and approval buttons so approvers never need to leave their channel.
Step 1: Create the Slack App
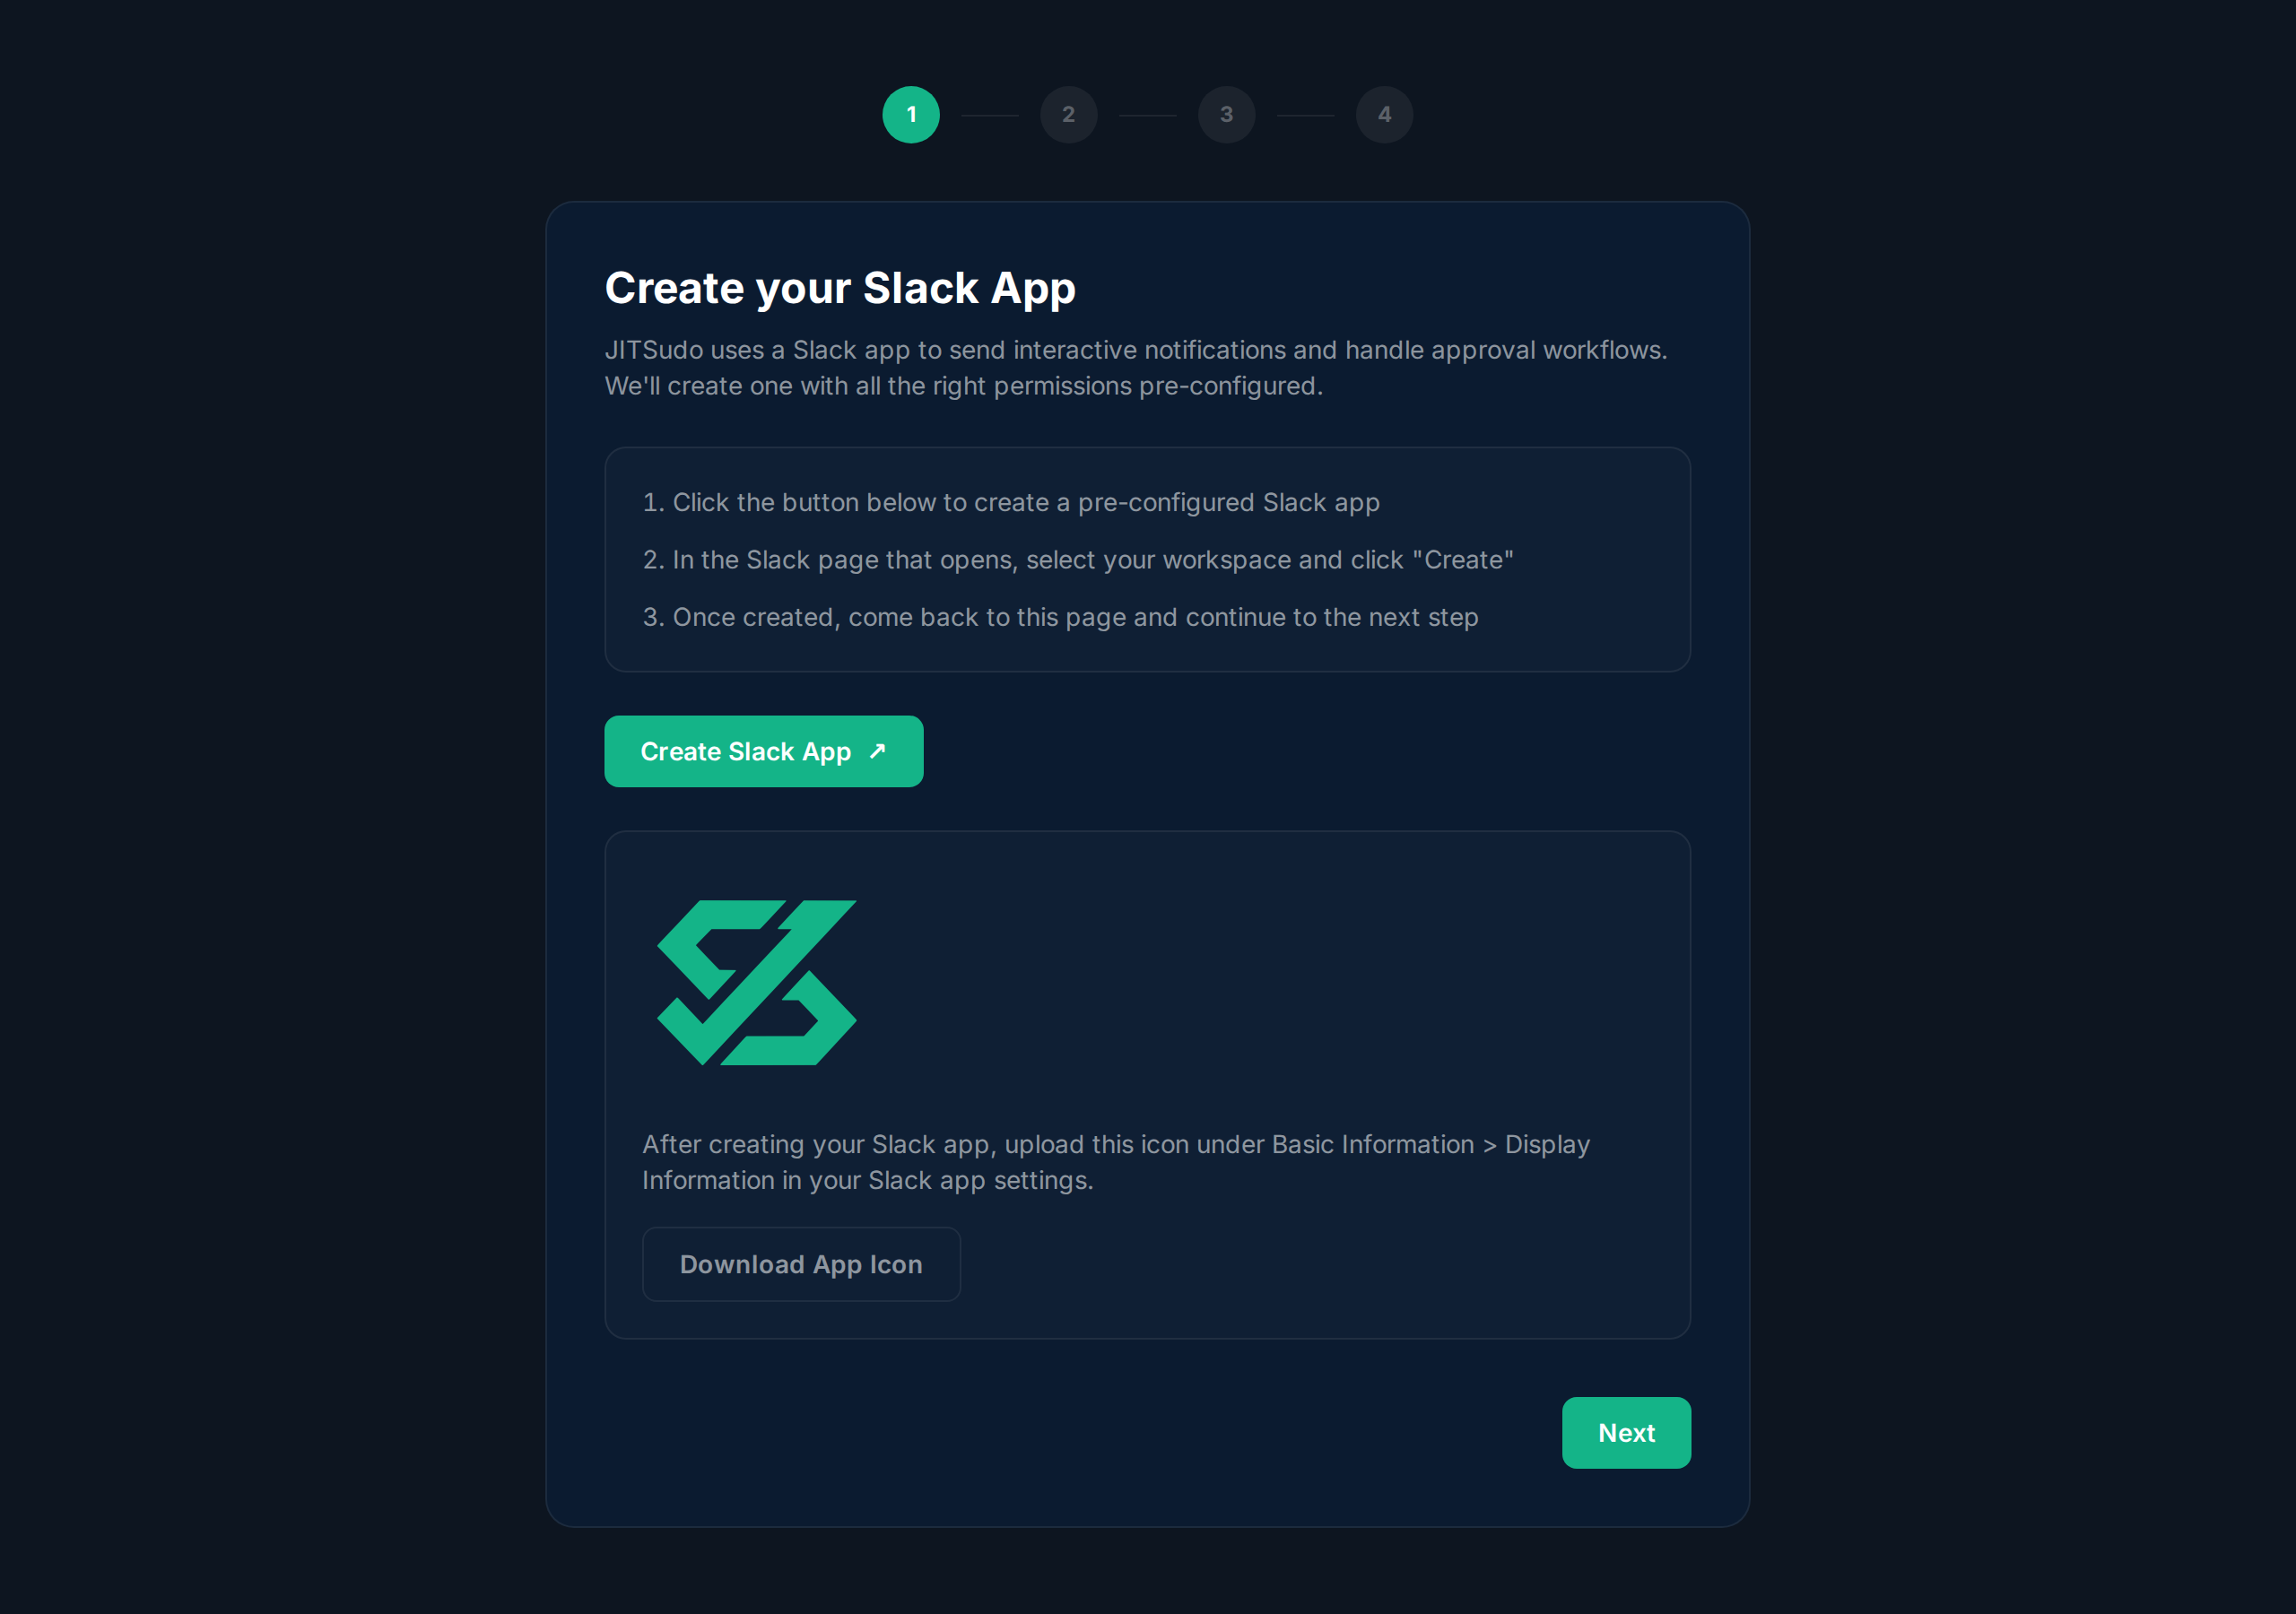
Section titled “Step 1: Create the Slack App”Open the setup wizard from Settings > Integrations by clicking Set up on the Slack Bot card. Follow the on-screen instructions to create a new Slack app in your workspace. Download the JITSudo app icon to brand the bot.
Step 2: Enter Credentials
Section titled “Step 2: Enter Credentials”Open the setup wizard.
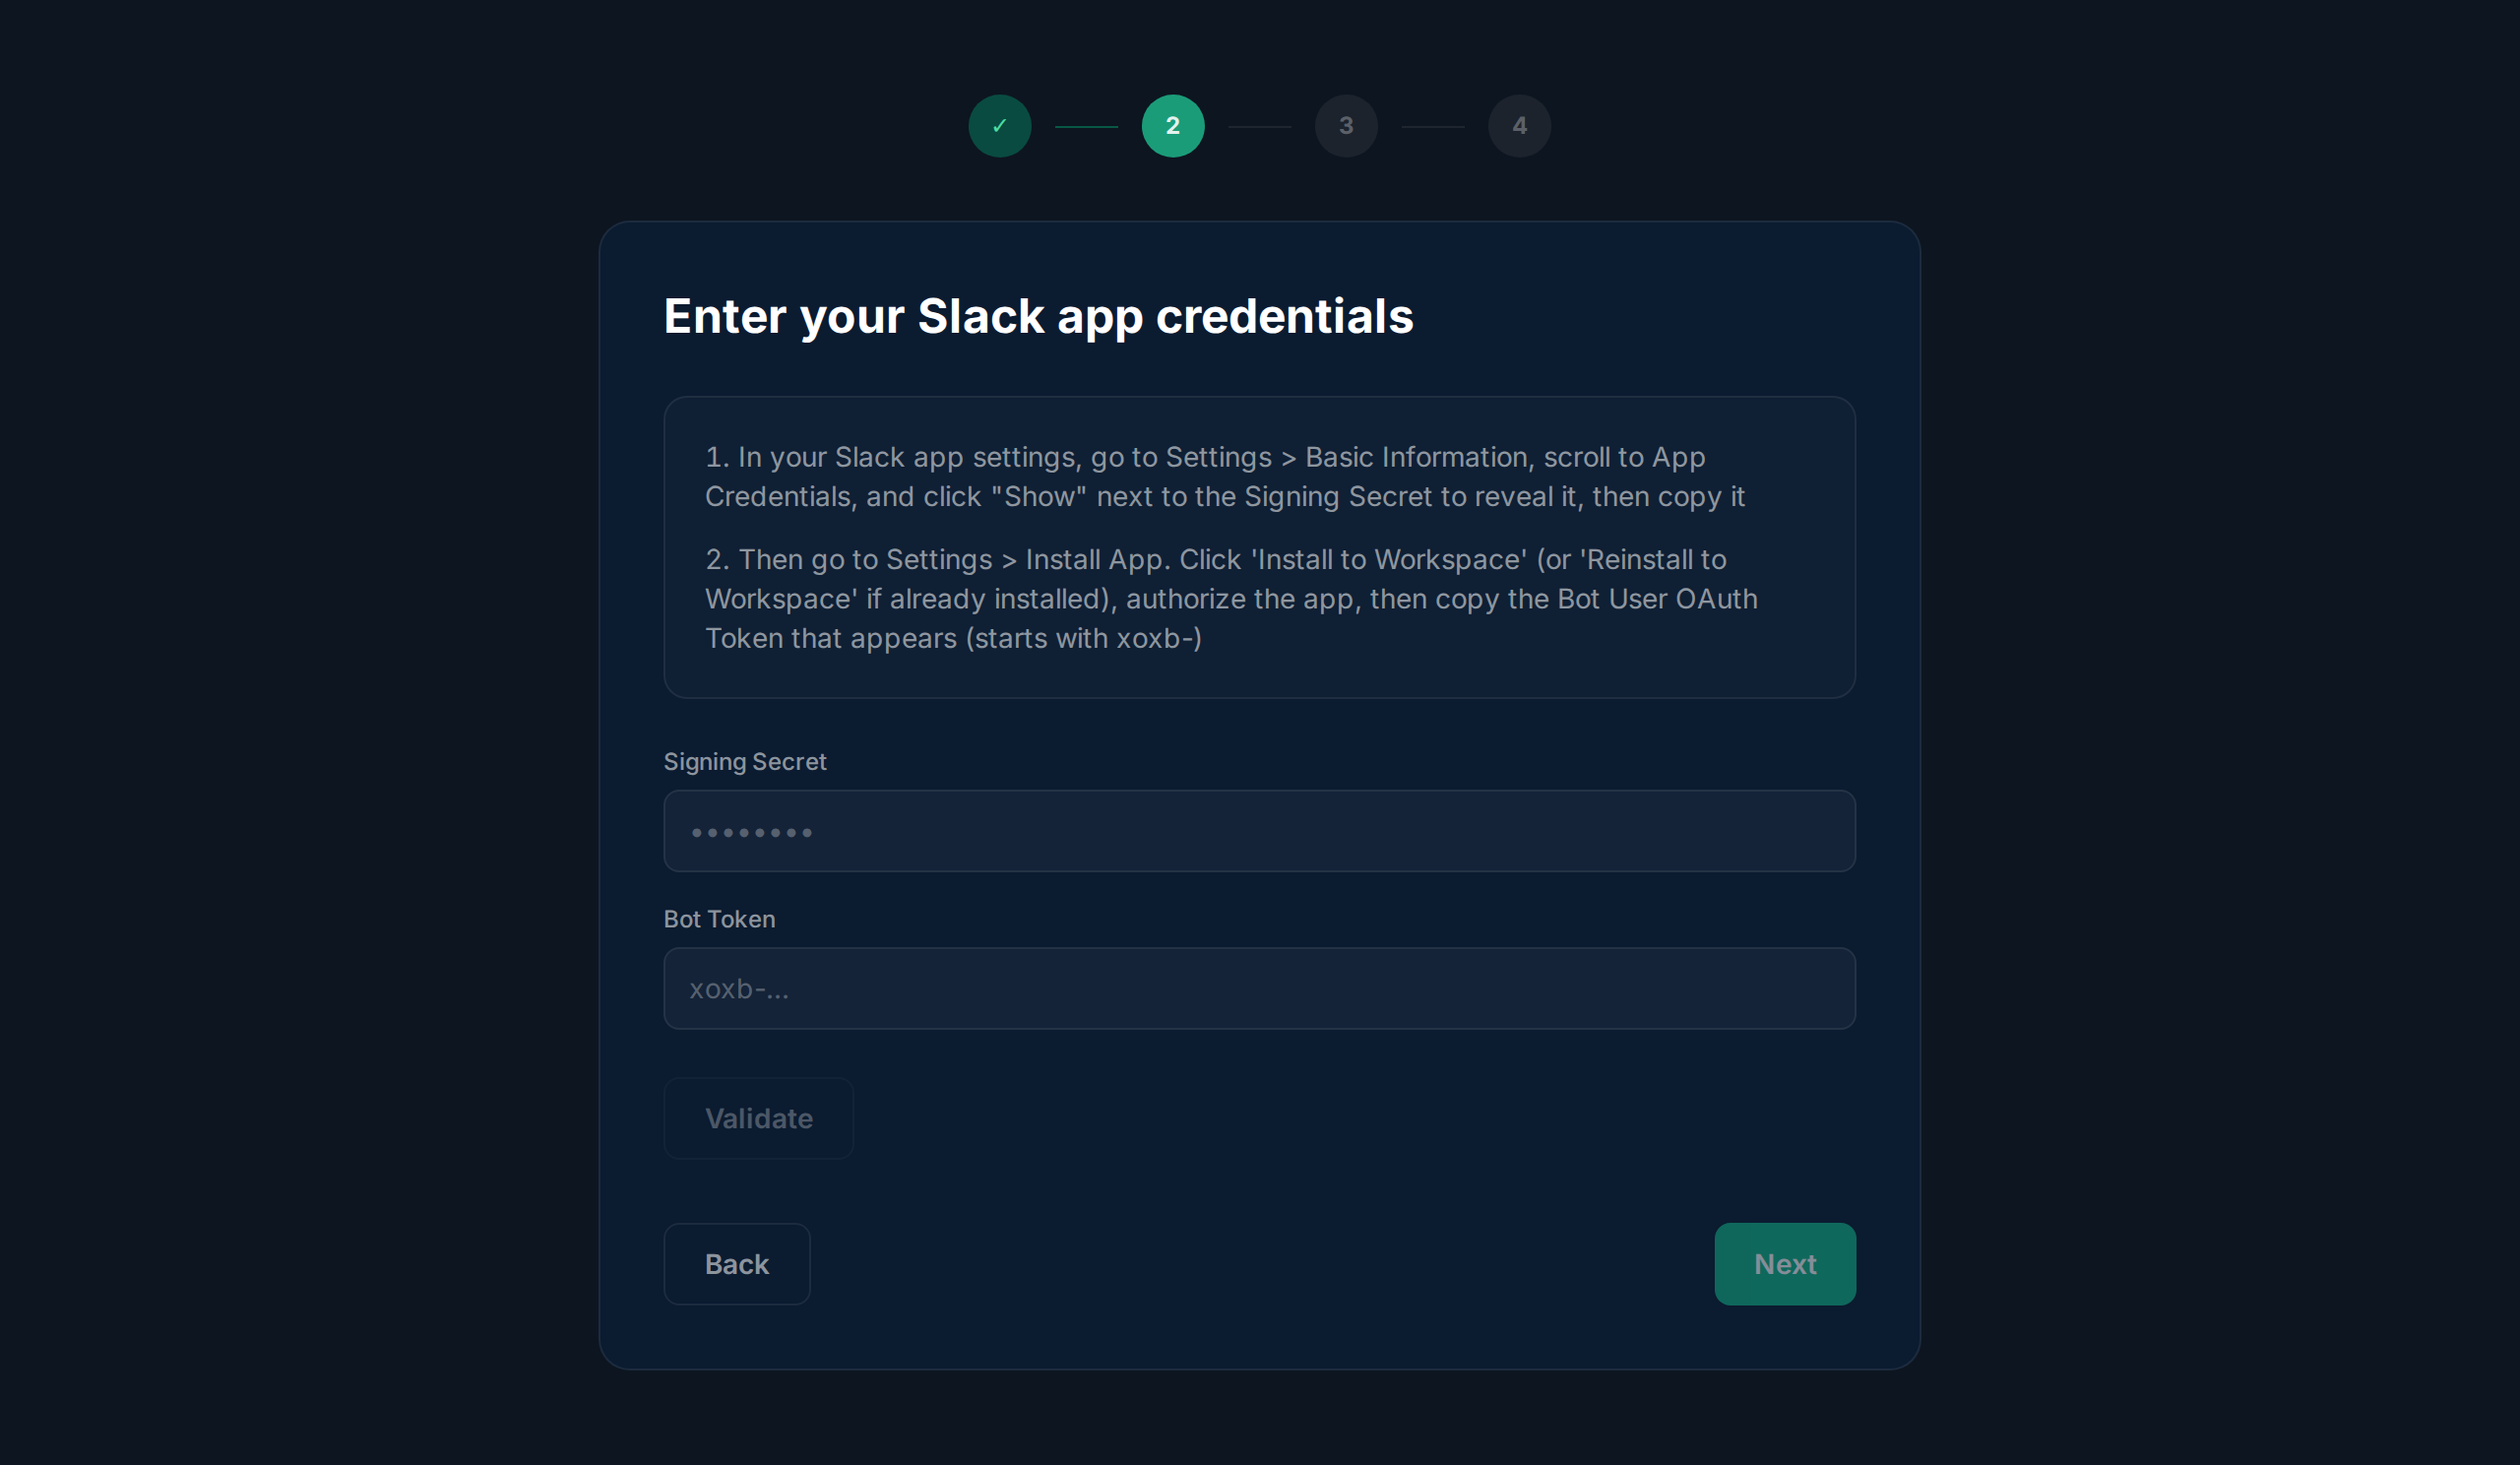
Enter the Signing Secret and Bot Token from your Slack app configuration. Click Validate to verify JITSudo can communicate with Slack before proceeding.
Step 3: Select Default Channel
Section titled “Step 3: Select Default Channel”Open the setup wizard.
Advance past step 1.
Enter a signing secret.
Enter a bot token.
Validate credentials.
Wait for validation to complete.
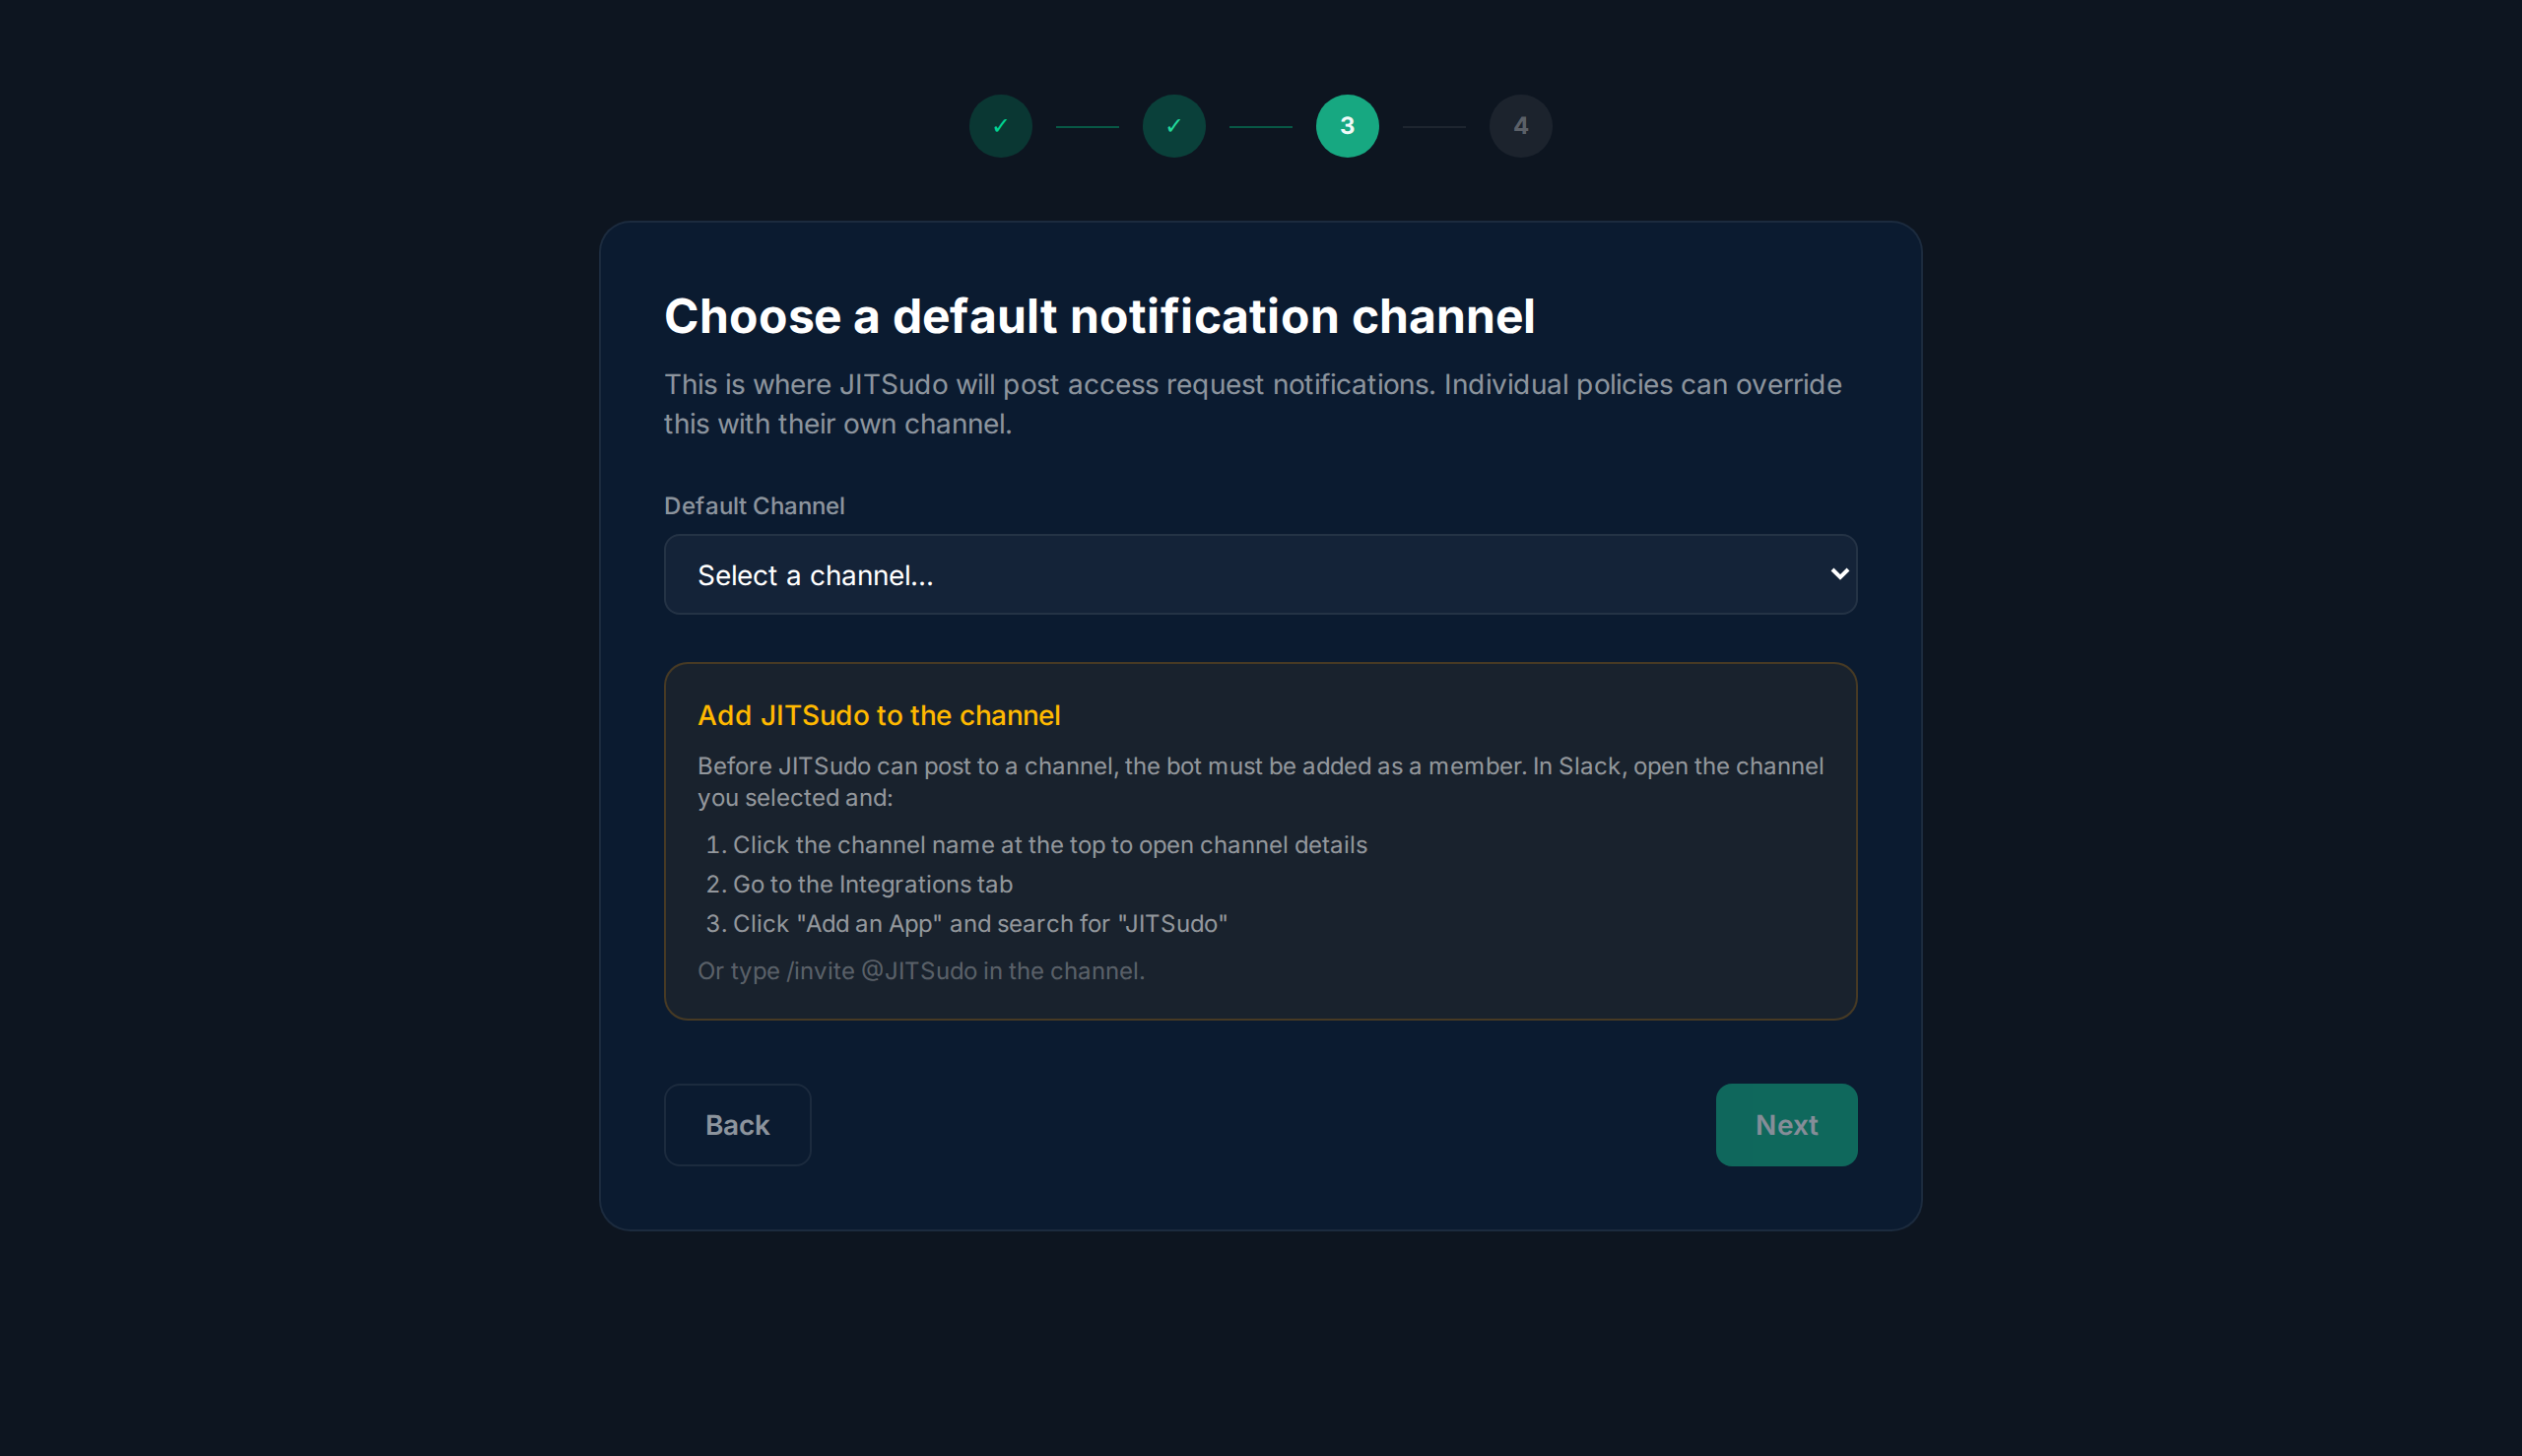
Choose the default Slack channel where access request notifications will be posted. Make sure the bot has been invited to this channel.
Step 4: Test and Complete
Section titled “Step 4: Test and Complete”After selecting a channel, click Next to reach the final step. Click Send Test Message to verify a message appears in your selected channel. Once confirmed, click Complete Setup to activate the Slack bot integration.
Managing the Slack Bot
Section titled “Managing the Slack Bot”After setup, return to Settings > Integrations and click the Slack Bot card to manage credentials, change the default channel, or disconnect the bot entirely.
Related
Section titled “Related”Related guides: